The Next thing I did was to Cut the Plexiglas. I cut one piece to fit inside the top of the box. Before I cut the second piece I sprayed the first piece of Plexiglas with Krylon UV Protective Acrylic (Matte) on the side that is to be inside the box.. This accomplished 2 things. It gives my poster the UV protection that it needs to keep from turning yellow and becoming brittle. It also gave the glass a frosted look as to diffuse the light, making the light more even across and poster box and hiding the lines of lights. The second piece of Plexiglas is to cover the entirety of the box. I took no pictures of all of this, Lots of scoring of the Plexiglas with the cutter. and some bending to snap it into.
The next thing I did was to lay the outer piece of Plexiglas on to of the box. Using 1/4 X 1/2 aluminum angle iron, I framed the box. I didn't worry about mitering the box, It will be covered later.
Once I had the aluminum taped to the Plexiglas I flipped over the entire box over so I didn't dislodge the frame keeping it square and getting it upside down on the table.
Now that I have it flipped over and removed the box I can continue to work on attaching the frame to make it one solid piece. To do this I picked up some 2 1/2" blocks from Lowes
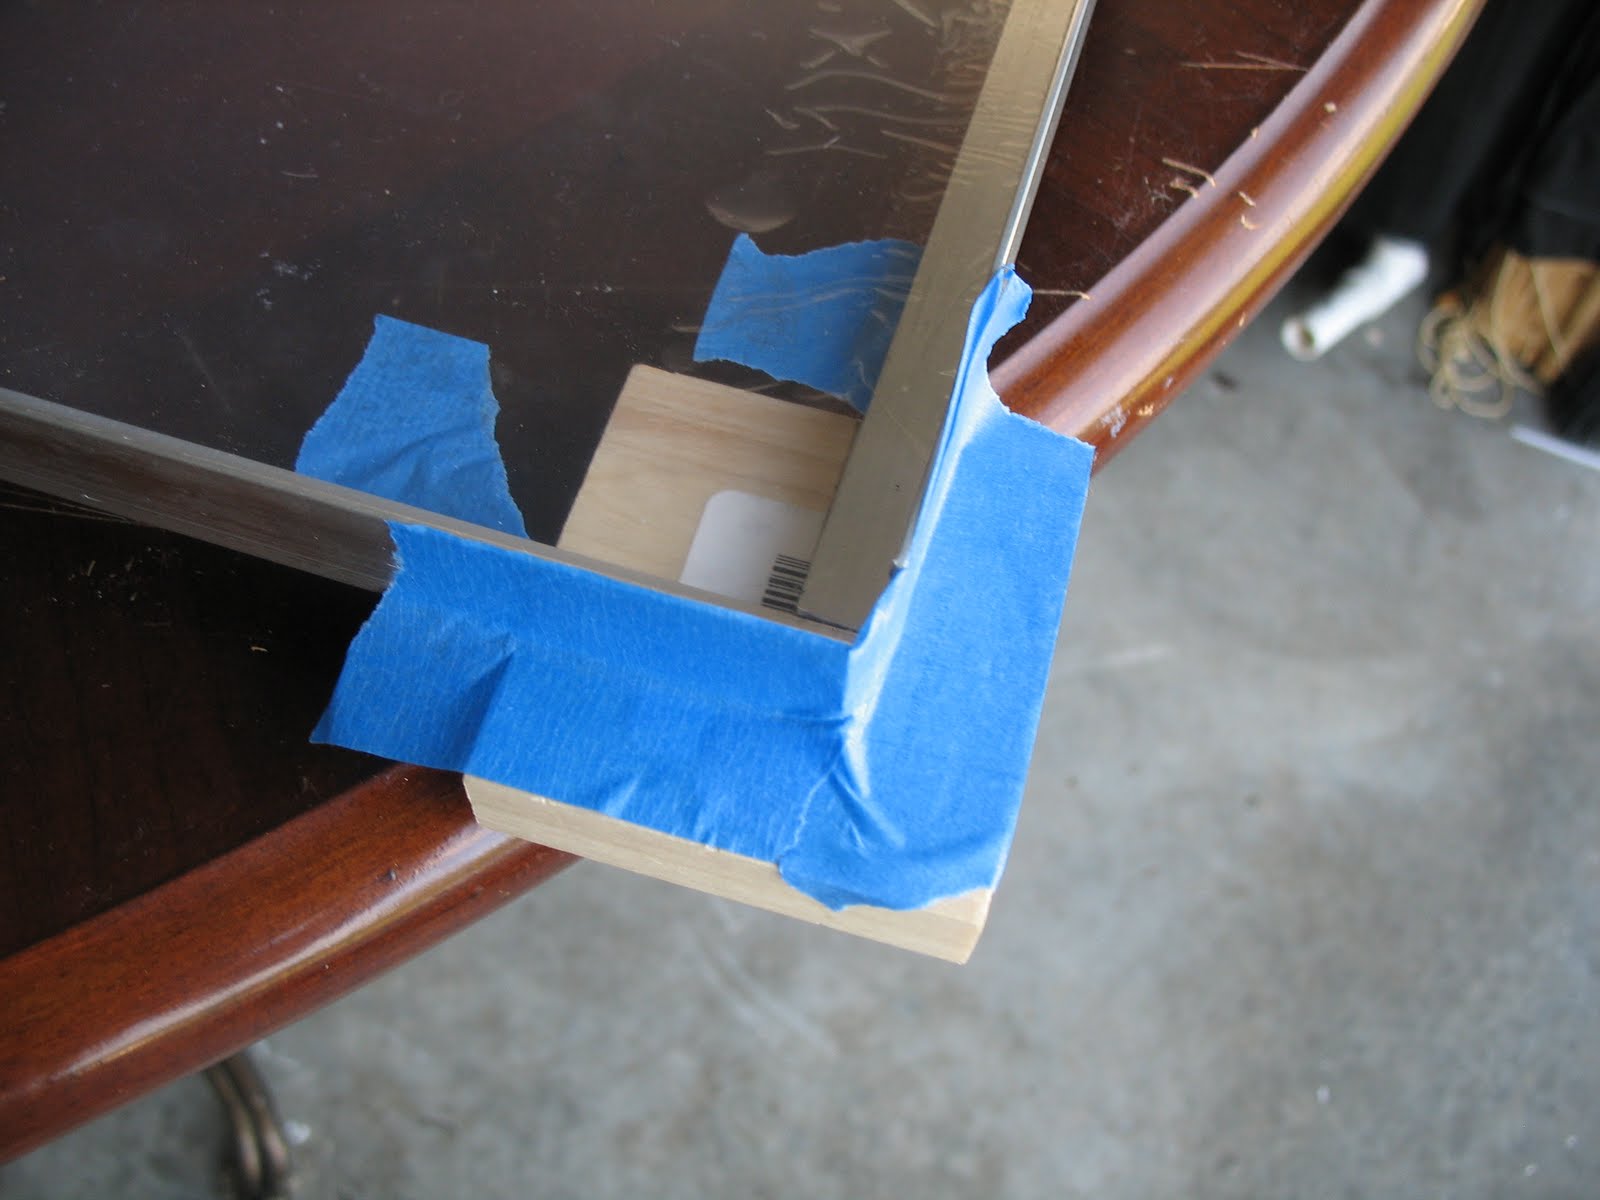
I decided that I wanted the blocksto stick out about 3/4" above the trim and marked them off.
Once I had the blocks marked off and aligned with the frame on each corner, I taped each block to the frame so that it wouldn't move
drilled 2 holes through the Plexiglas, the aluminum frame, and partially through the corner block for each rail.
Next I removed the Plexiglas, and screwed the aluminum to the corner blocks. which allowed me to handle the frame with out loosing the square alignment. also removed the tape at this time as it's no longer needed. flipping the frame over I measured out and cut my 3/4" trim to fit between the corner blocks and cover the aluminum frame.
I then attached the trim to the frame using 5 minute epoxy. I would have just used the Gorilla Glue, but it expands too much and there is no real good way to clamp down the trim I picked out.
Once the trim was dry I placed the frame back on the box and drilled one hole on the top and bottom of the side rails and through the wood blocks inside to attach the frame to the box.
Next I painted the frame gold using Krylon metallic gold. here is what it looks like all nice and shinny.
The last thing I accomplished this weekend is to place the inner Plexiglas in the box. and screw it down. making sure the wood screws were as flush I could get them with the Plexiglas.


No comments:
Post a Comment